ART II
Basics
Basics
|
Elements: Color, Texture, Value
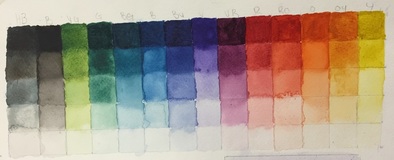
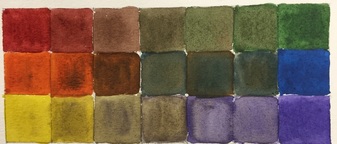
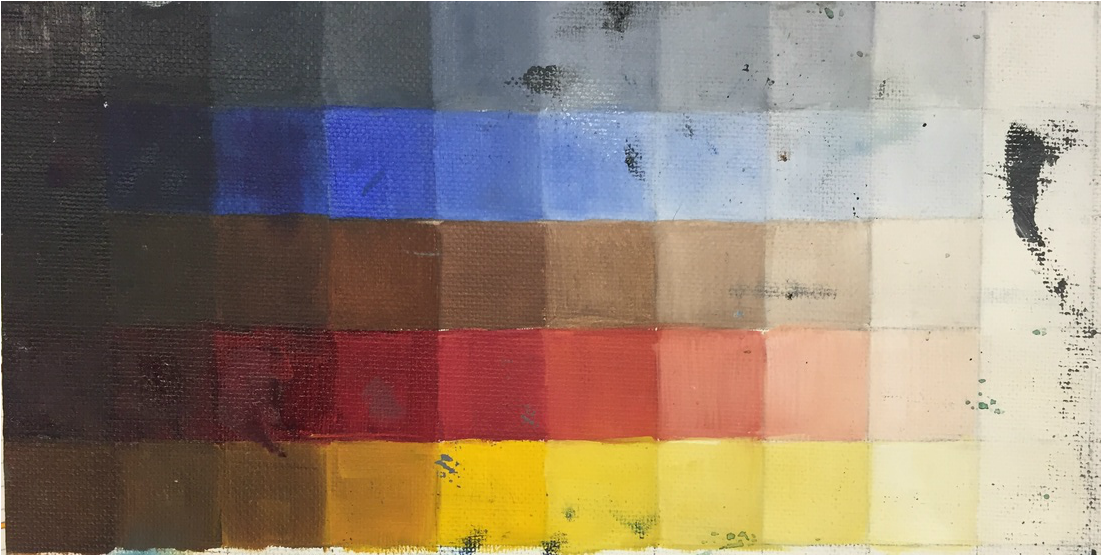
1. 5 step value scales: 5 x 14 1 inch boxes BB (brown and blue), Black, YG, G, BG, B, BV, V, RV, R, RO, O, YO, Y 2. Compliments: 3 x 7 1 inch boxes Warms (yellow, orange and red) across from cools (purple, blue, green) 3. 12 3x5 boxes: Label boxes with technique. Wet on Dry Techniques:
4. Sketch and paint a tree using 3 techniques from above. |
|
#1: Sky#4: Hills#7: Streambed#10: Splatter#13: Waterfall#16: Grass |
#2: Mountains#5: Atmosphere#8: Rocks#11: Trunks#14: Branches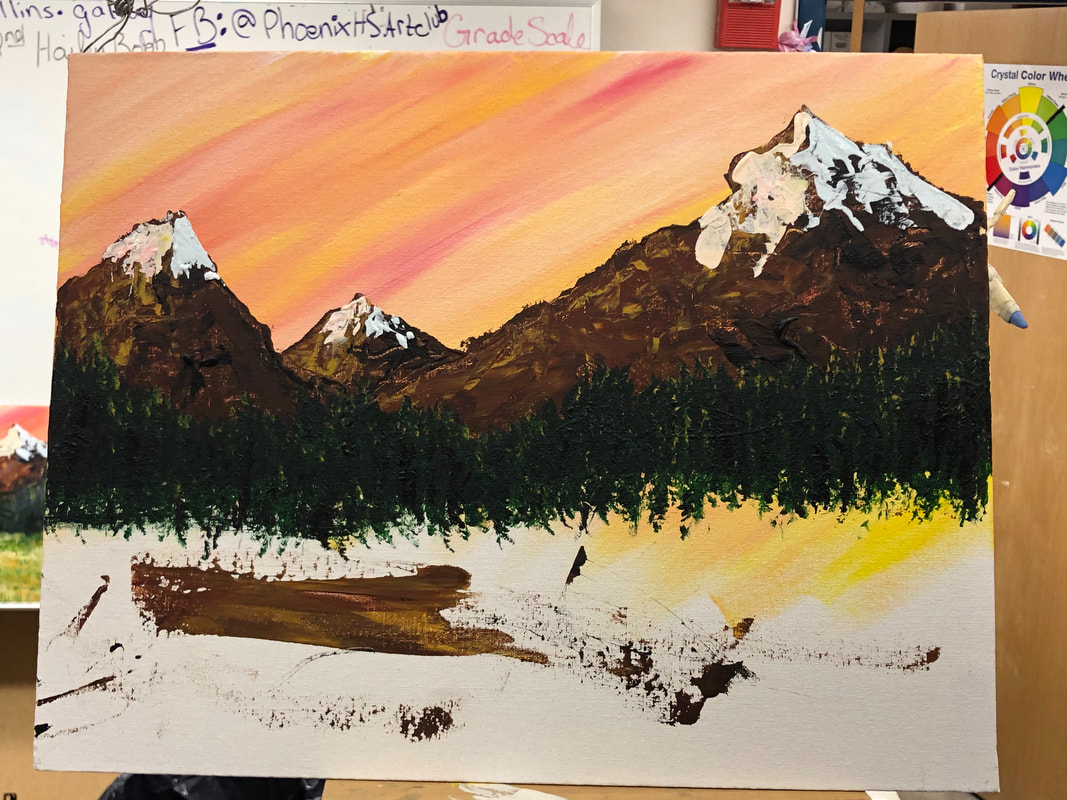
|
#3: Snow#6: Meadow#9: Back trees#12: Water#15: Small Branches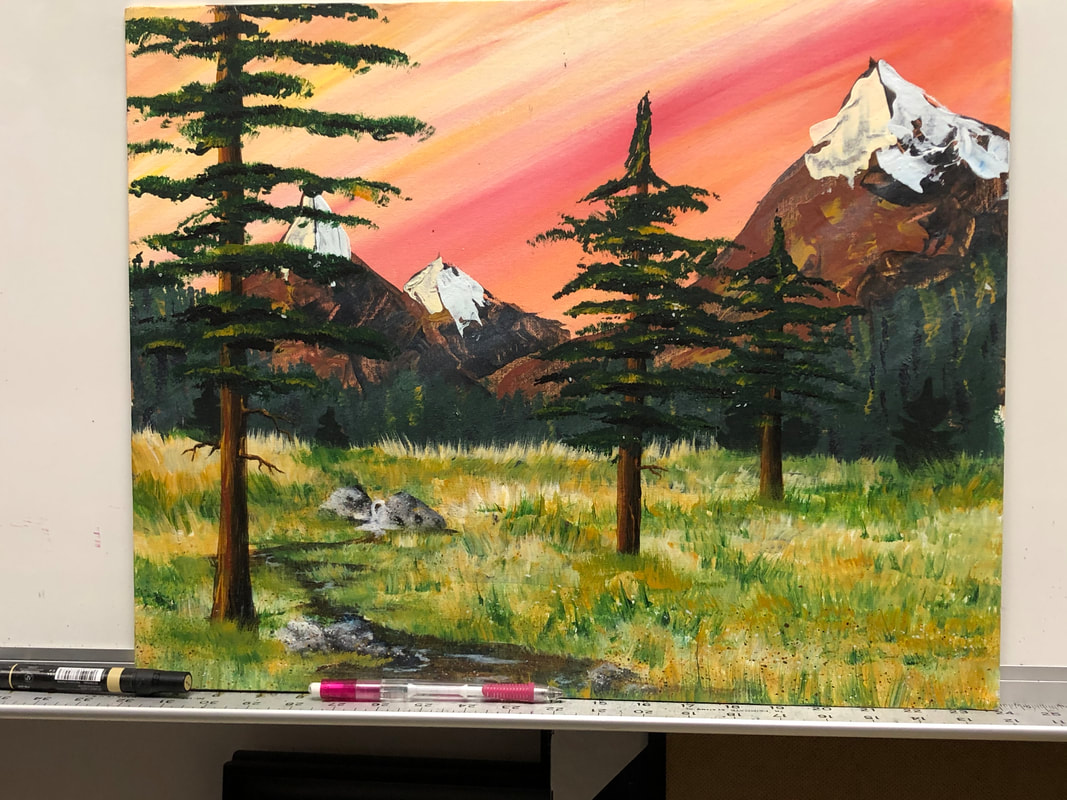
|
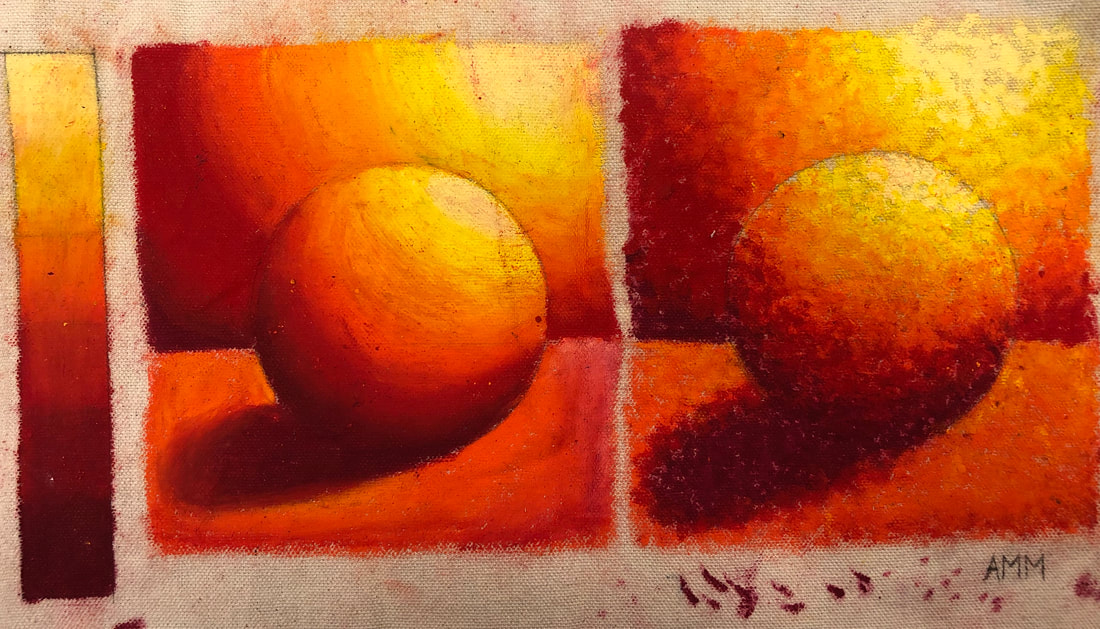
Oil Pastel BasicsOn Canvas. Make sure you have a full range of value with the oil pastels that you pick. White or cream can be a light value. Black or very dark for your dark.
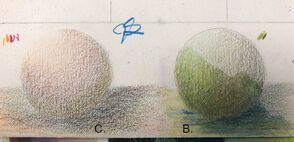
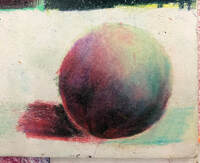
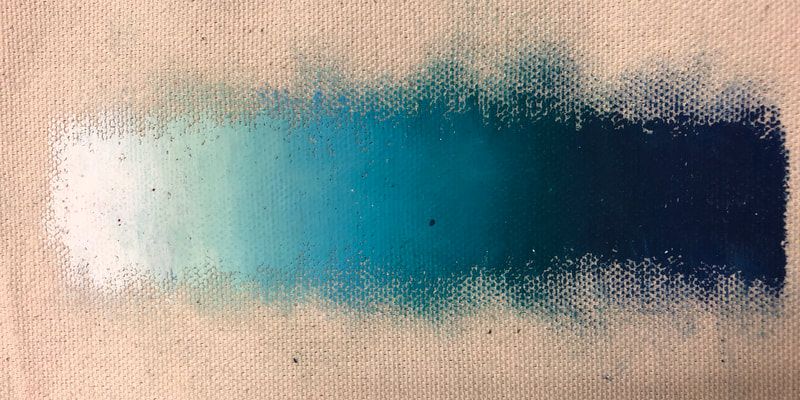
9 step value scale smooth sphere stipple sphere/ Mark making 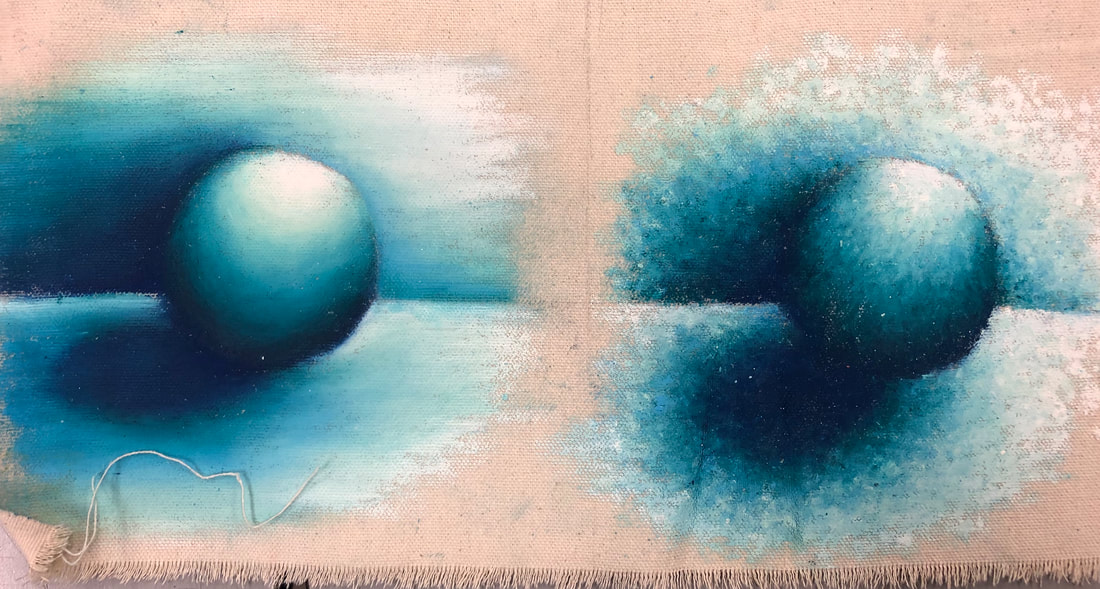
|
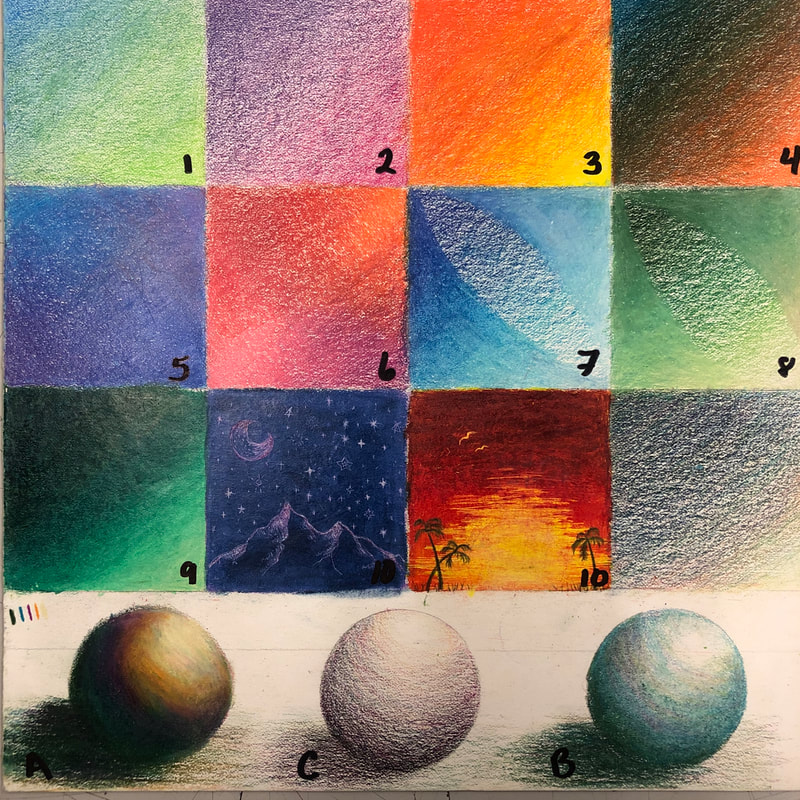
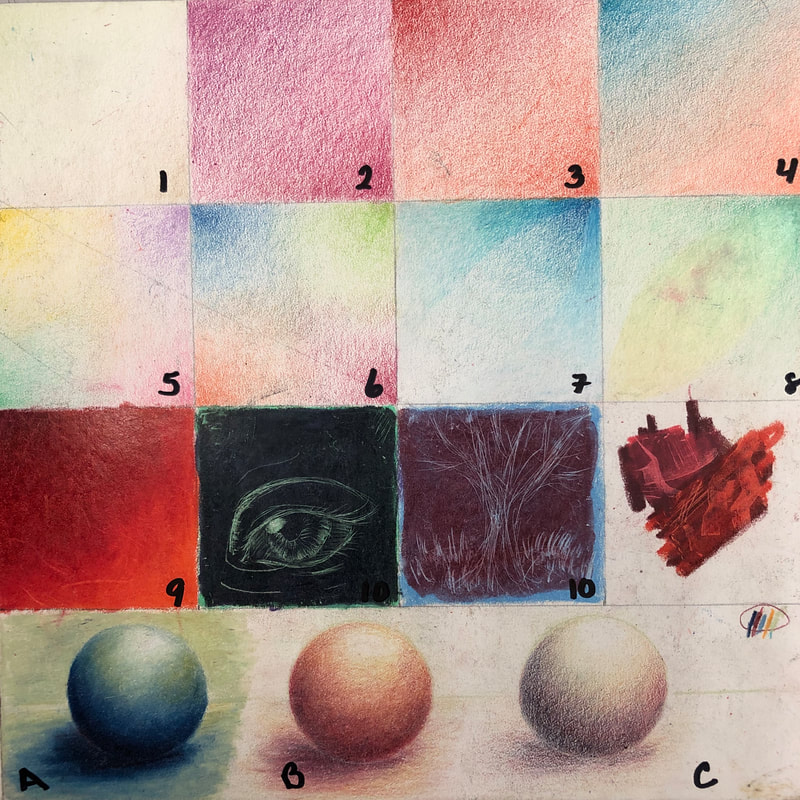
Colored Pencil Basics
|
|
Color matching exercise.
Students use the primary colors and white to mix the exact brown of cardboard. Less is more :-) |
10 step value scales.
Less is more :-) Use black to darken blue. Blue starts on the third step Use Brown to darken red and yellow. Red starts on the 4th step. Yellow starts on the 5th step. |

|
|

|
|